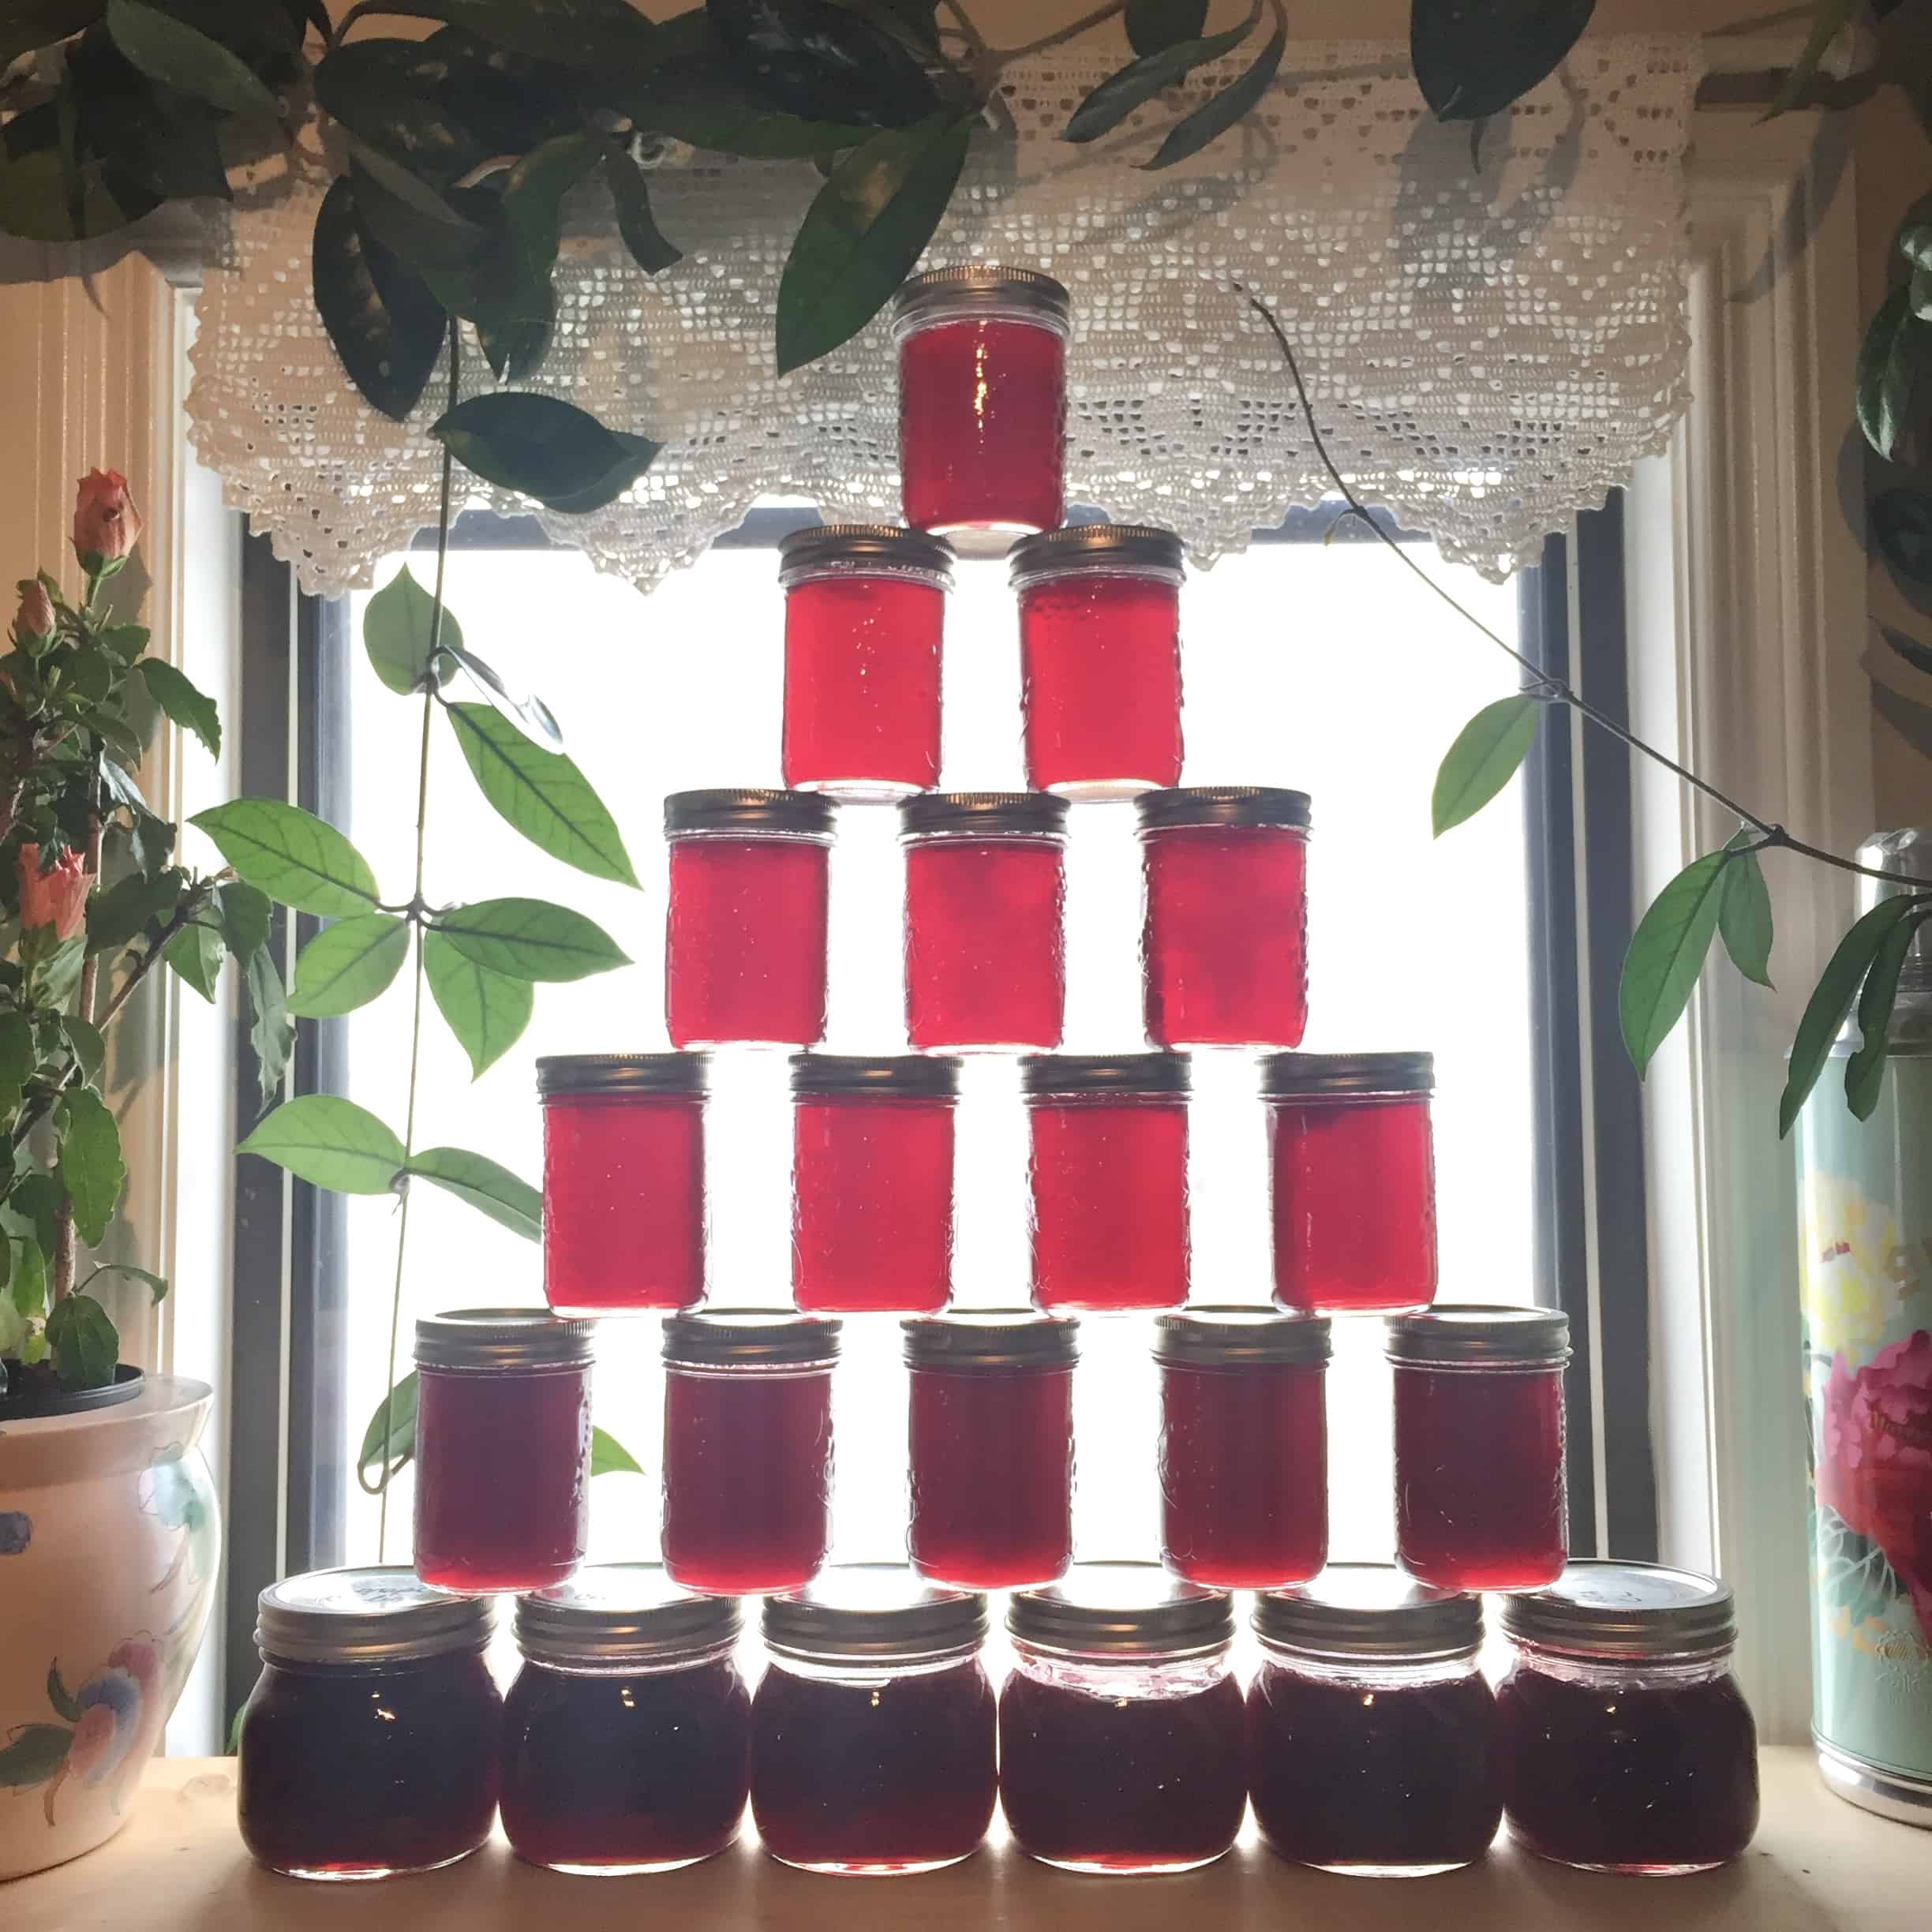
Practice the art of canning
This fall, learn ways to preserve the abundance of summer’s harvest through canning.
Canning is a form of preserving, explains Naomi Pahl, who has been canning for 14 years. She learned the skill from her aunties, one of whom is a Red Seal chef, and has amassed plenty of tips and tricks over the years.
There are several kinds of canning, including pressure canning, water bath canning, and atmospheric steam canning.
Pahl uses water bath canning, which is perfect for foods high in pectin and acid: jams, chutneys, relishes, pickles, and salsas, for example.
“[Water bath canning] is going to be really easy, as far as learning how to cook it and prepare it, and it’s a great way to enter the world of preserving,” says Pahl.

Source your produce for canning from just about anywhere: from foraging in your local ravine or shopping at a farmers market or grocery store to harvesting the food grown in your very own garden.
“Sometimes you go to the grocery store and they have something on sale because they just have too much of it,” says Pahl. “That’s a great opportunity to take produce home for a cheap amount and be able to preserve it for your family.”
“If you can’t eat it right away, a great way to store it is to can it,” adds Pahl.
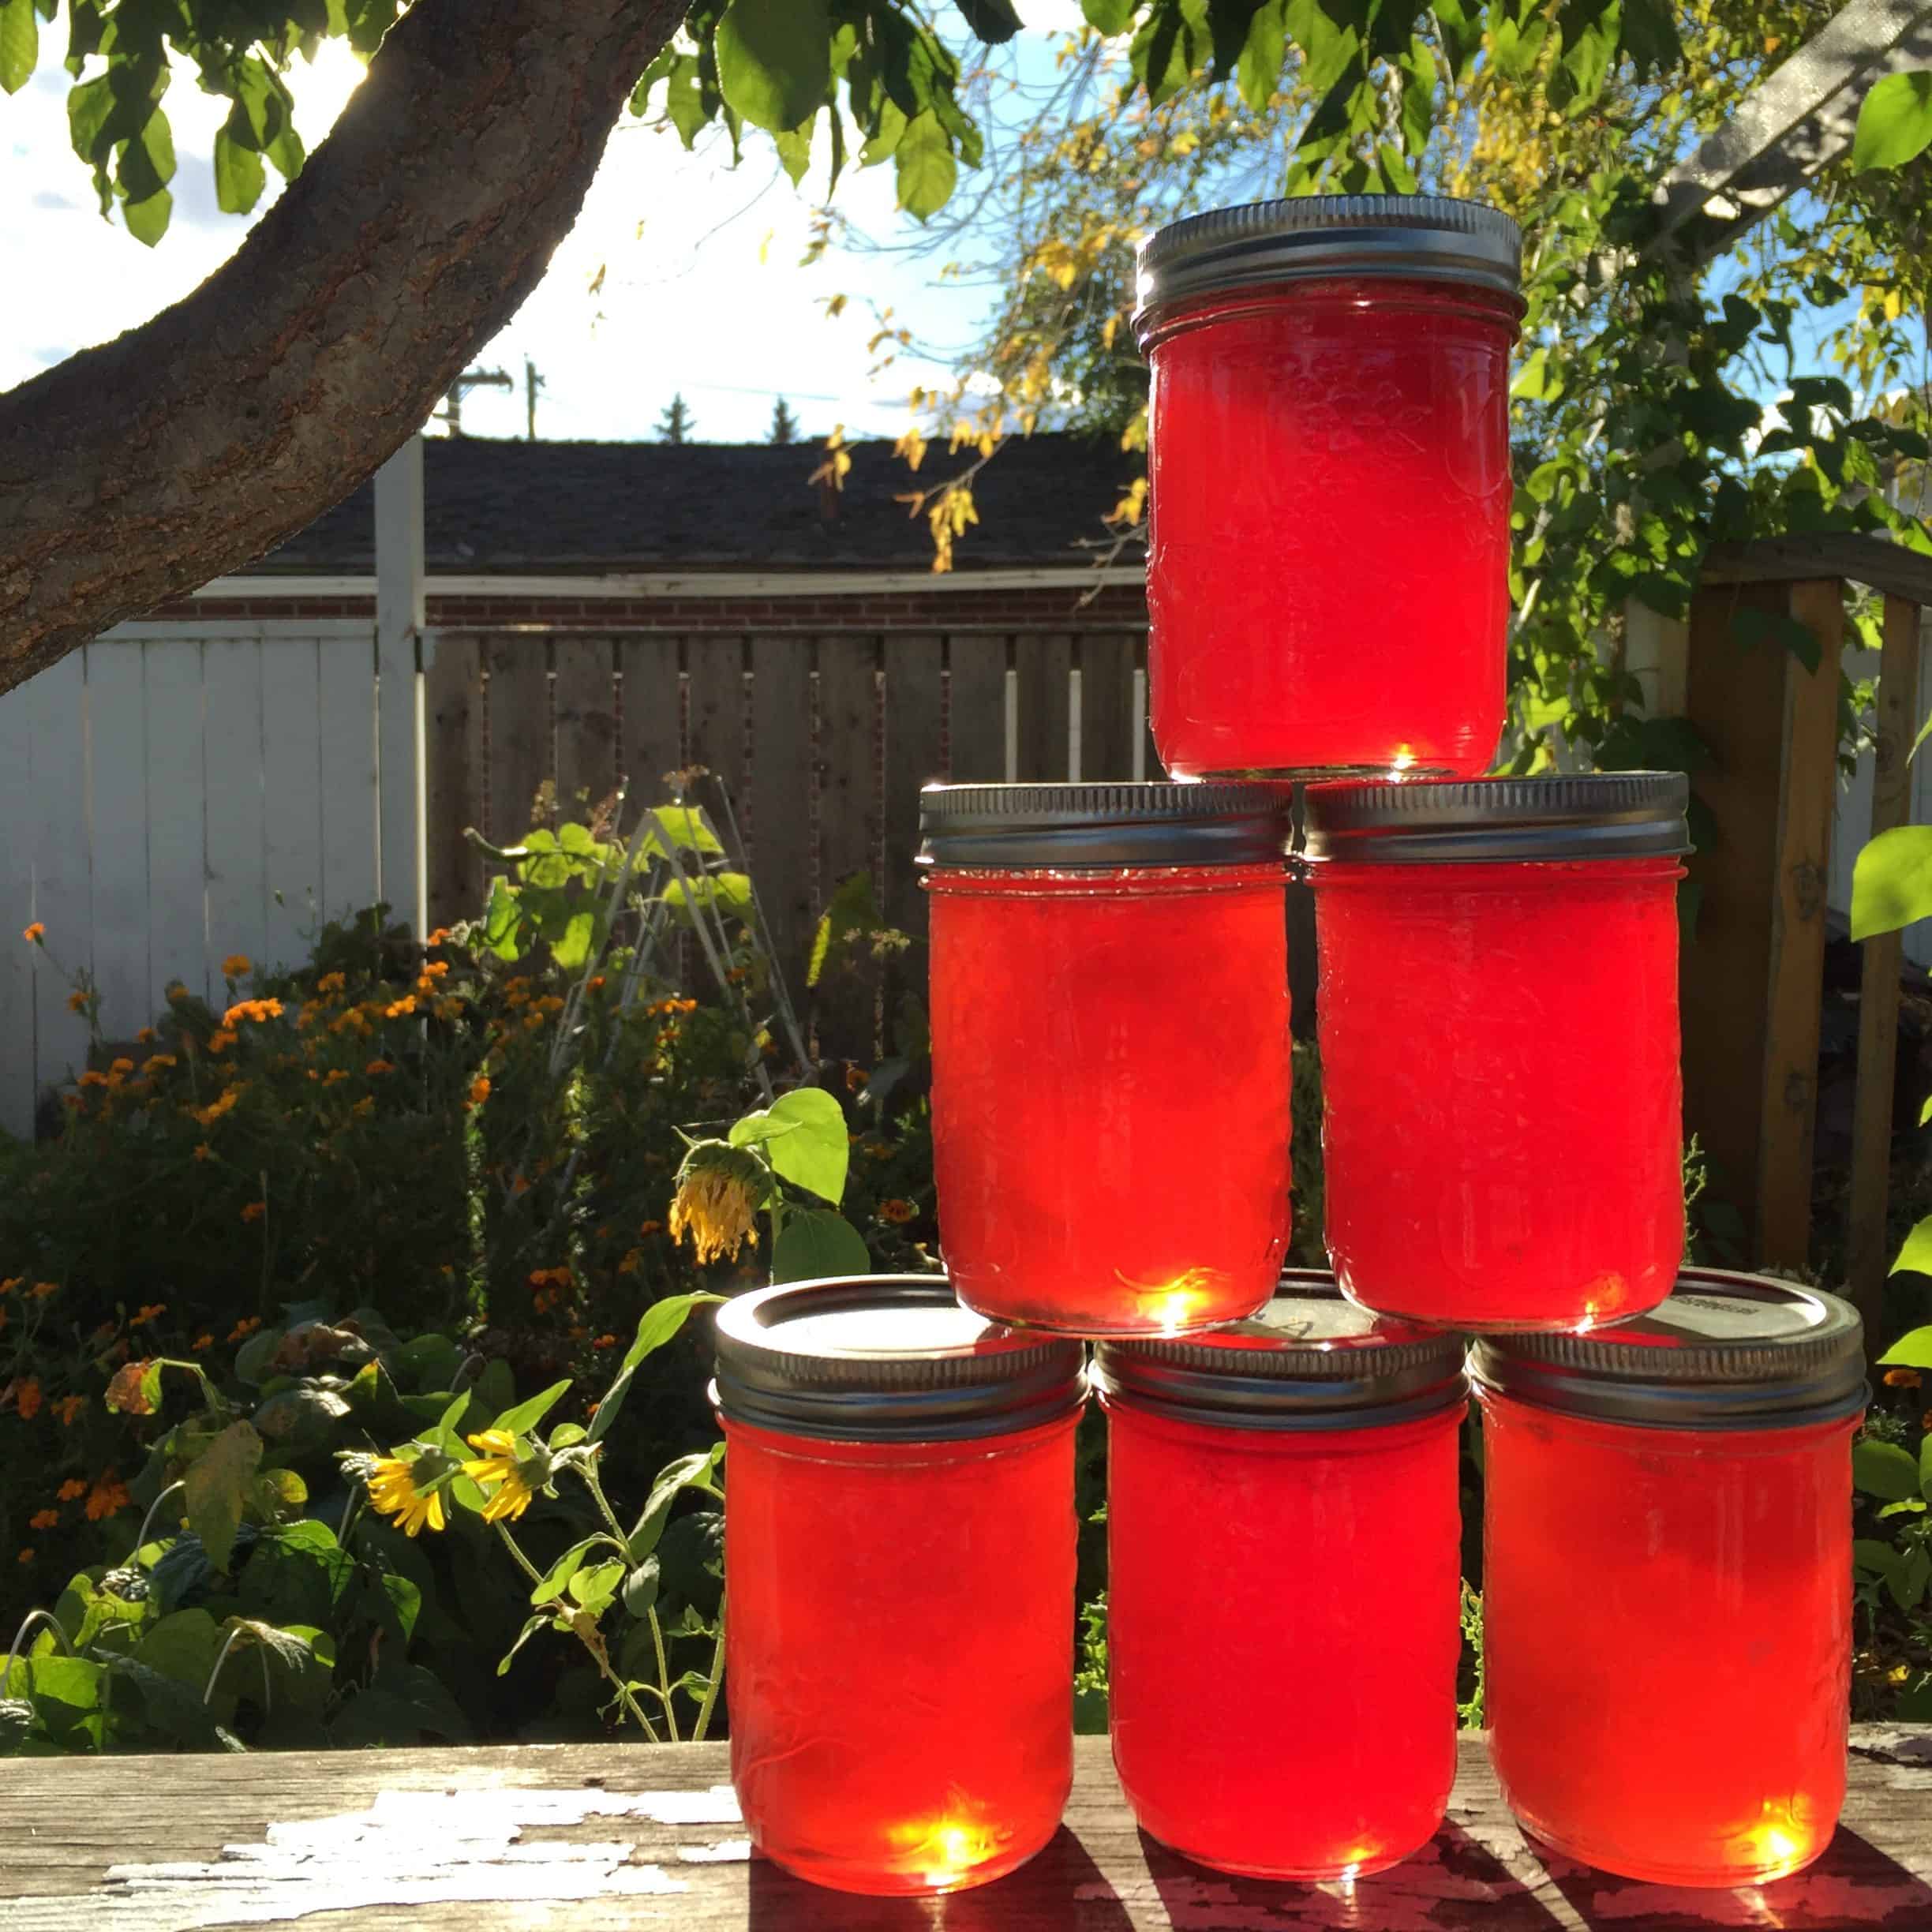
And, canning is a much cheaper alternative to buying grocery jams and chutneys, especially if you already have a large source of produce — an apple tree or a cherry tree, for example.
“It’s so much cheaper and tastes so much better,” says Pahl. “There’s just no comparison in taste with [grocery-bought items] anyhow.”
Convinced yet? Here’s how to get started.
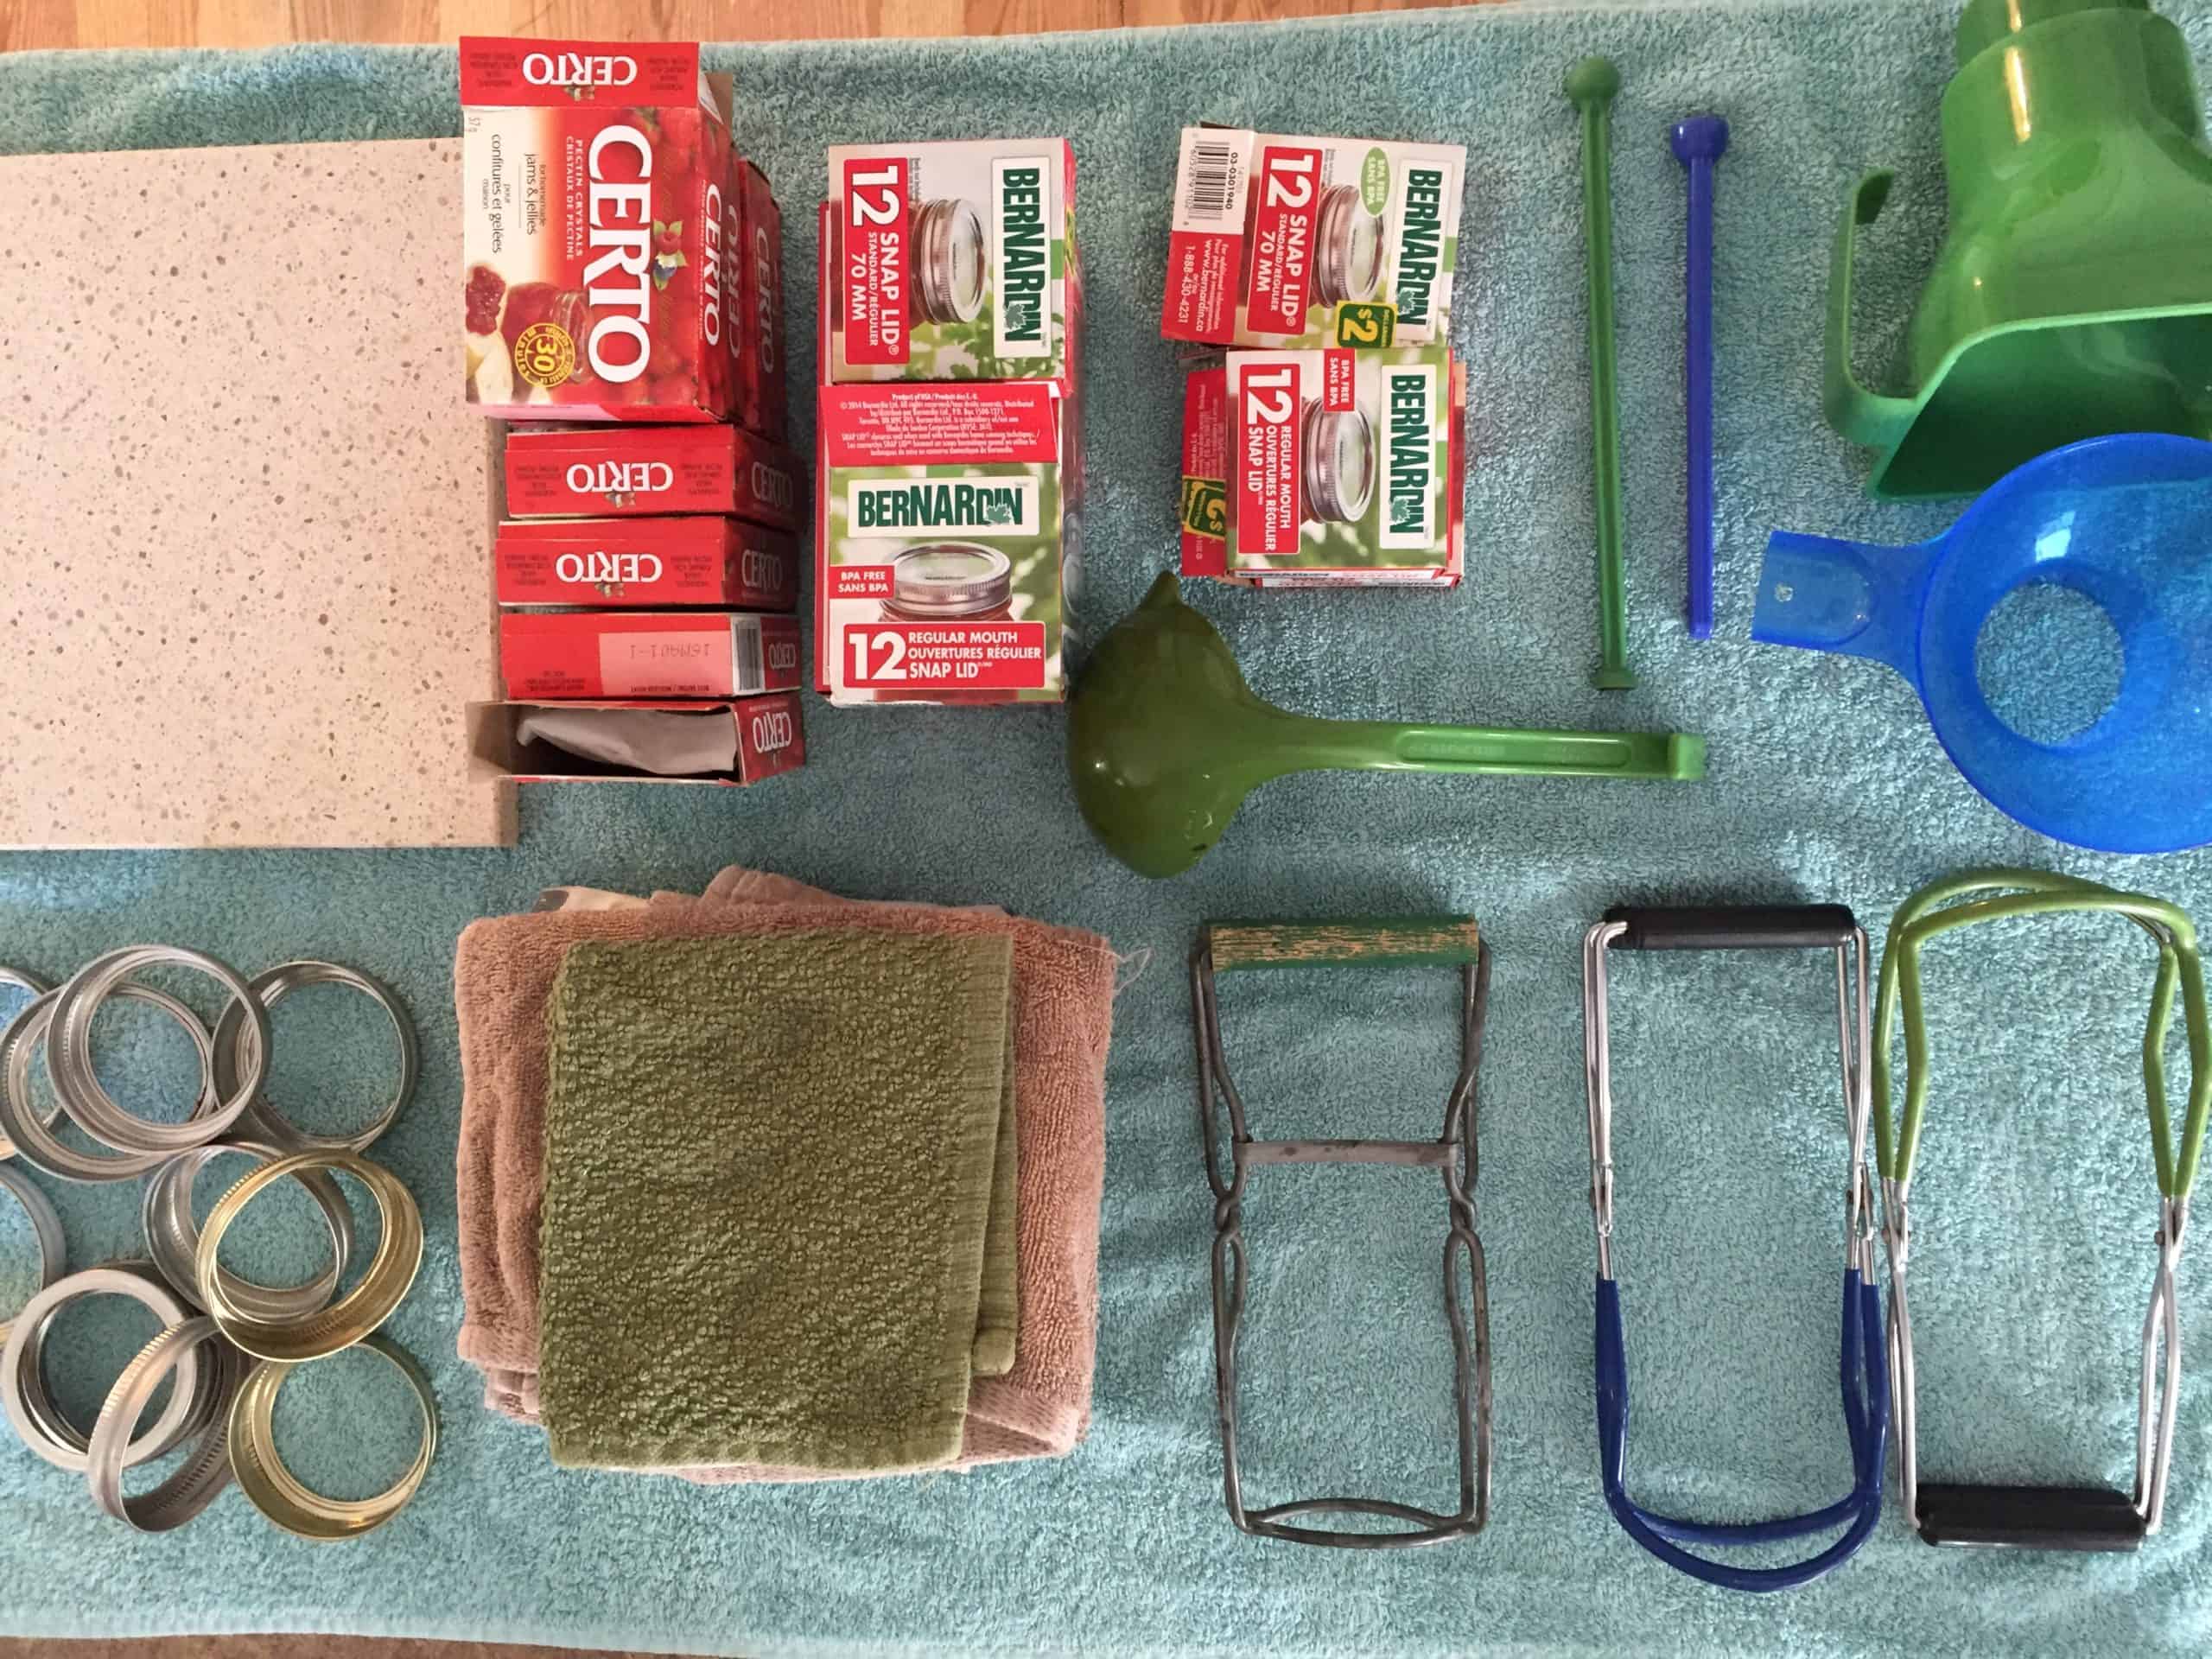
What you’ll need:
- A canning pot
- A jar lifter
- Jars
- Screw bands
- Lids
- A funnel (optional but helpful)
These are the bare minimum canning tools, explains Pahl. You can purchase specific canning tools if you’d like, but it isn’t necessary.
Jars and screw bands can be reused in future canning projects, but the lids must always be new and they must be the correct size for the jar. If the lid is too large or too small, the jars won’t seal properly and the food can spoil.
Before you dive right in, Pahl suggests doing a little bit of research because there are requirements to ensure that the food you’re canning remains safe for consumption.
Pahl suggests checking out: atcoblueflamekitchen.com/en-ca/how-to/preserving.html for detailed canning instructions and recipes that have been collected by Alberta food professionals. It also includes the processing times needed for canning, according to your geographical elevation. Food will need to be processed longer if your geographical elevation is higher. Another good site is nchfp.uga.edu.
She also cautions against using old-fashioned, non-scientific canning techniques. “I love that my great-grandparents and my grandparents and so many of our ancestors have been preserving food,” says Pahl, “but it’s important that we don’t risk our lives or other people’s lives using non-scientific methods of canning.”
“Be proud of your ancestors and their preserving knowledge, but maybe don’t use that specific preserving knowledge. Especially because we have so many great scientific methods that have been updated continuously that keep us safe from things like botulism.”
Canning steps
Step 1: Make your jam/chutney/pickles/etc.
Find a recipe you like and get started!
Step 2: Set up your water bath
Fill your canning pot full of water and set it up to boil. Ensure the pot is deep enough that it covers the jars by at least an inch.
It will likely take a while to boil, so be patient!
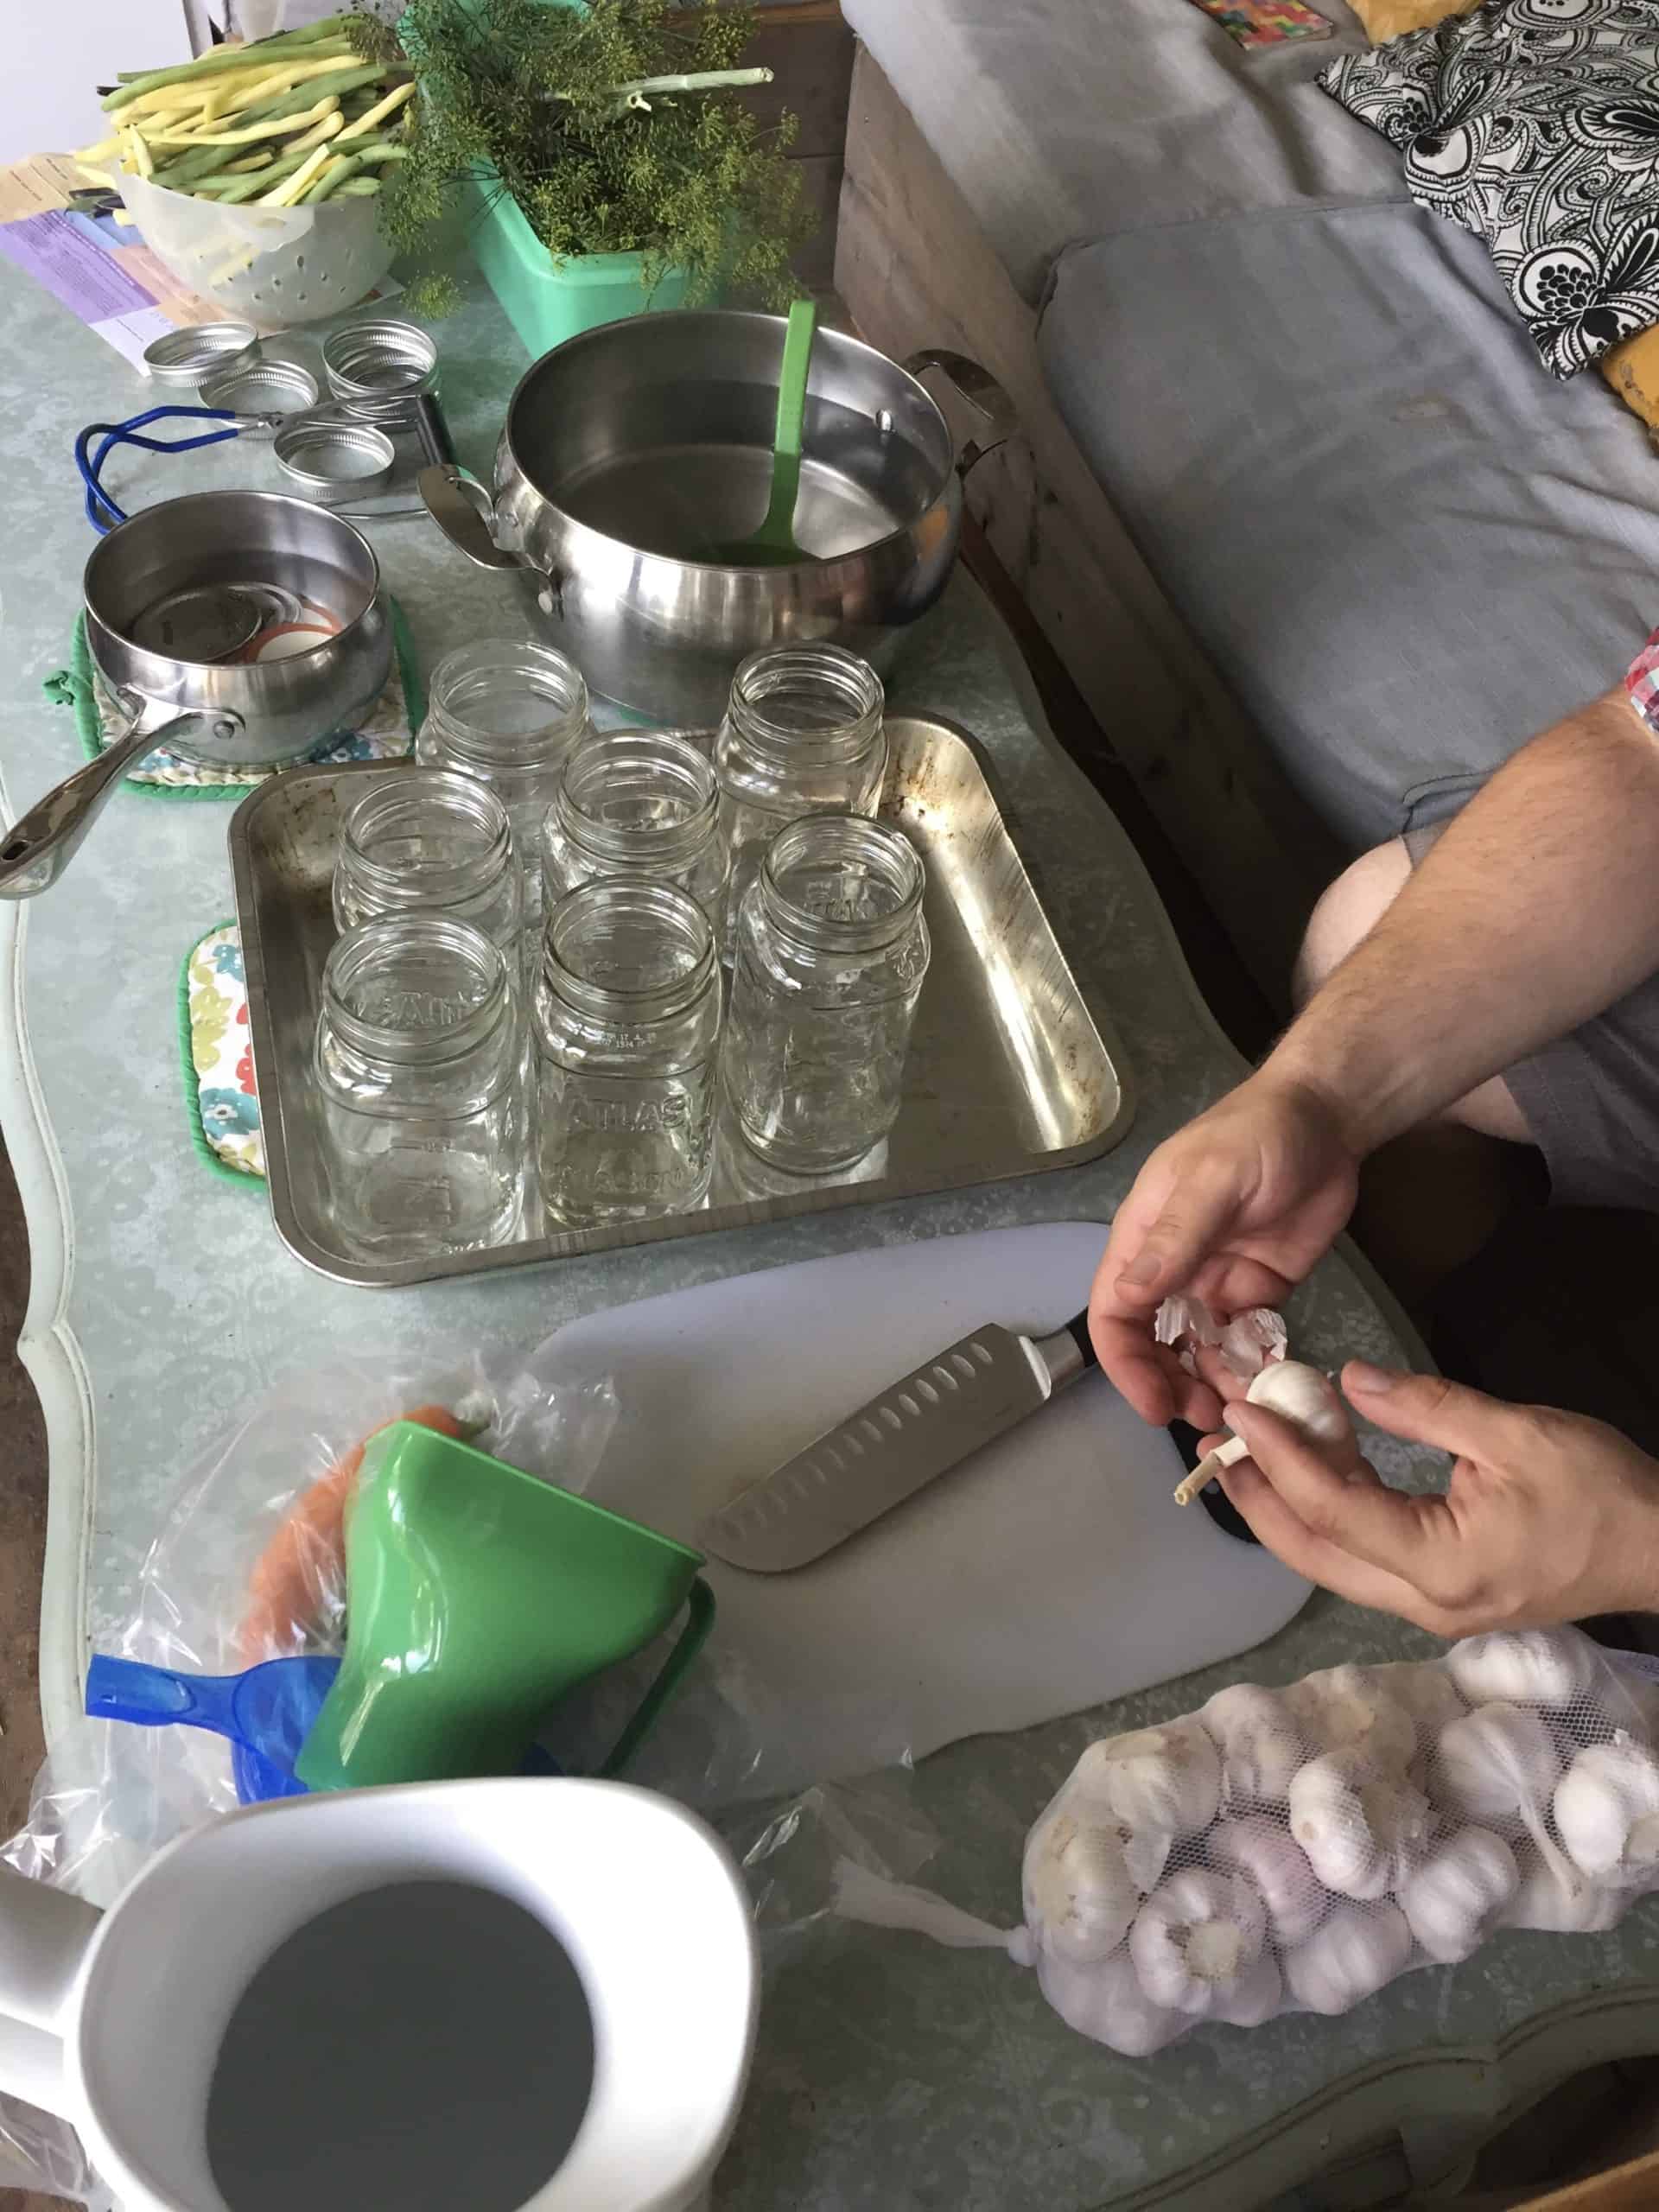
Step 3: Sterilize everything
“[Canning] really works best if everything is kept hot, including your jars and your utensils and your food,” explains Pahl, “because that means it’s going to be sterilized.” Having everything hot also ensures that the jars seal properly.
Avoid having any utensils or food cool down by working efficiently and by having another pair of helping hands.
“You can do it on your own, but I would say if you’re starting out, have a friend,” she notes. “It works a little bit more efficiently.”
Pahl boils the lids of her jars in a small pot. Utensils should also be sterilized in hot water. Pahl suggests boiling the canning jars in your water bath, so you can reuse water and waste less. ATCO Blue Flame Kitchen says to boil your canning jars for 15 to 20 minutes, depending on your elevation.
Tip: Keep a kettle boiling to easily top up the water in the water bath with hot water, rather than adding cold water. This will keep the temperature consistent, and you won’t have to wait for your water to boil a second time.
Step 4: Fill your jars
Next, spoon your hot food into the hot jars. Leave about an inch of headspace at the top of the jar.
When your jars are filled, wipe the edges of the jar with a cloth dipped in boiling water. Then, place the boiled (and still hot) lid on top. Gently tighten the screw bands until it’s finger tight — tight enough to stay on, but loose enough that a child could open it.
Step 5: Put your jars in the water bath
After you’ve filled your jars, place them into a boiling pot of water. Make sure that the pot is deep enough to cover the jars by at least an inch. Don’t fill the pot completely full. There should be enough water to cover the jars with an inch of water. Process them in the boiling water according to the recipe and your elevation.
Step 6: Wait for the lids to seal
After the correct processing time, take the jars out of the water bath to cool. Do not touch or manually compress the lids. Wait for the lids to seal on their own. You can often hear an audible pop when they do.
Step 7: Store the canned goods
Once the jars are completely cooled, label the contents and store them in a dark, cool place. Preserves keep for about a year. Any jars that haven’t sealed should go in the fridge and be consumed immediately.
And that’s it!
Pahl sums up canning simply: “It’s cheap, it tastes better, and it’s a lot of fun.”